 |
| Buy the excellent Scalextric GT Lightning and a pack Ecurie stock class rule 8.1 specified Slot.it S2 tyres, along with the option useful investments for the future in the form of cheap 3mm wide trim stripe tape, needle point oiler with thin oil and lighter fluid for cleaning (original can is ok but needle point bottle useful). |
 |
| Dave carries a large stock off free pair skinny magnet, 2.5mm thick front O ring, 1.0mm thick rear O ring and one pair "just in case" rear axle plastic spacers as per Ecurie rule 3.3 - just ask and you will receive these. There are other Ecurie experienced who will have similar. My own current source: Strong-Rare-Earth-Bar-Neodymium-Magnets-N50-25x5x1-5mm O ring 2.5mm thick by 17mm or 18mm OD |
 |
 |
The Scalextric wheel centre rib is wrong for Slot.it and other non Scalextric tyres and must be built up with a single layer of trim tape and widened with a single 1mm O-ring on the outside (no glue). Start and finish the trim tape so the rib "pimple" is in the gap, obviating any need to shave the pimple.
|
 |
Ease the Slot.it tyre on, sidewall writing inwards (so the ruffle edge also inwards) and "knead" the tyres till well seated and a totallly flat finish with no sign of rib (the sunken cheek finish is what kills the stock motors). Never sand S2, makes the tyre too sticky for stock motors.
|
 |
| The only place I use glue on the whole car, if needed to stop the motor rocking (some motors are tight enough). If you really must remove the motor for any reason, lift at this front point or you will break the rear motor mount. |
 |
| The skinny magnets are boon as one can leave the original magnet in place and stack add the skinny magnet without popping out the motor or axle. I break (do not Dremel as heat kills the magnet) the last 20% so that the 80% will clear the plastic clips and sit flat on top of the original magnet. I then stacked the little 20% piece on top (per pic below) and the car came out just shy of the spec 180 gram downforce per Ecurie limit. Use bits of the spare magnet to trim to same, it is worth the time and effort. The finished stack should be pushed forward to the motor mount and will be well clear of the gears. |
 |
| Never run a stock motor "wet" with any kind of muti, it burns the commutator black. Dribble in some lighter fluid through the the top little square holes till the bottom of the car is damp then stop and wipe excess. The hi-tech RC approach is to use a slave motor to turn the car motor to seat the motor brushes, the lower tech Mike Wilkie approach of spinning the rear wheels by hand gives plenty gearing to do the job - sitting in front of the tv for ten to fifteen minutes is ample manual run turn time. Once dry then oil all the moving parts of the motor, axles and gears with your new pin oiler or similar. |
 |
| Ecurie is strict on no butchering of plastic cars so the simple solution is toss the fragile spoiler up front. If you really must fit it then this is the one time you will be forgiven for butchering the locating pins shorter and then bumper taping the spoiler directly on to the car body. Carefully screw the body on to the chassis with the original screws so that the body is loose enough to give about 1mm gap front and rear, there should also be a tiny amount of sideways body float at the rear. |
 |
| You are ready to run, most cars are fine but some (not all) show excessive rear end axle float, which manifests in a motor killing "Grrrrrk" through the long bends. You should immediately stop as you are hurting the motor and it is time for those "just in case" plastic washers per Ecurie rule 3.3, Dave gave you up front. |
 |
| This gets tedious and fingerprint removing but one needs to sand the the washers to half the thickness (no don't just put one in, it must be balanced or the motor will run tight). Note the slit (with scissors or knife) so that one can twist and fit over the axle after completion. |
 |
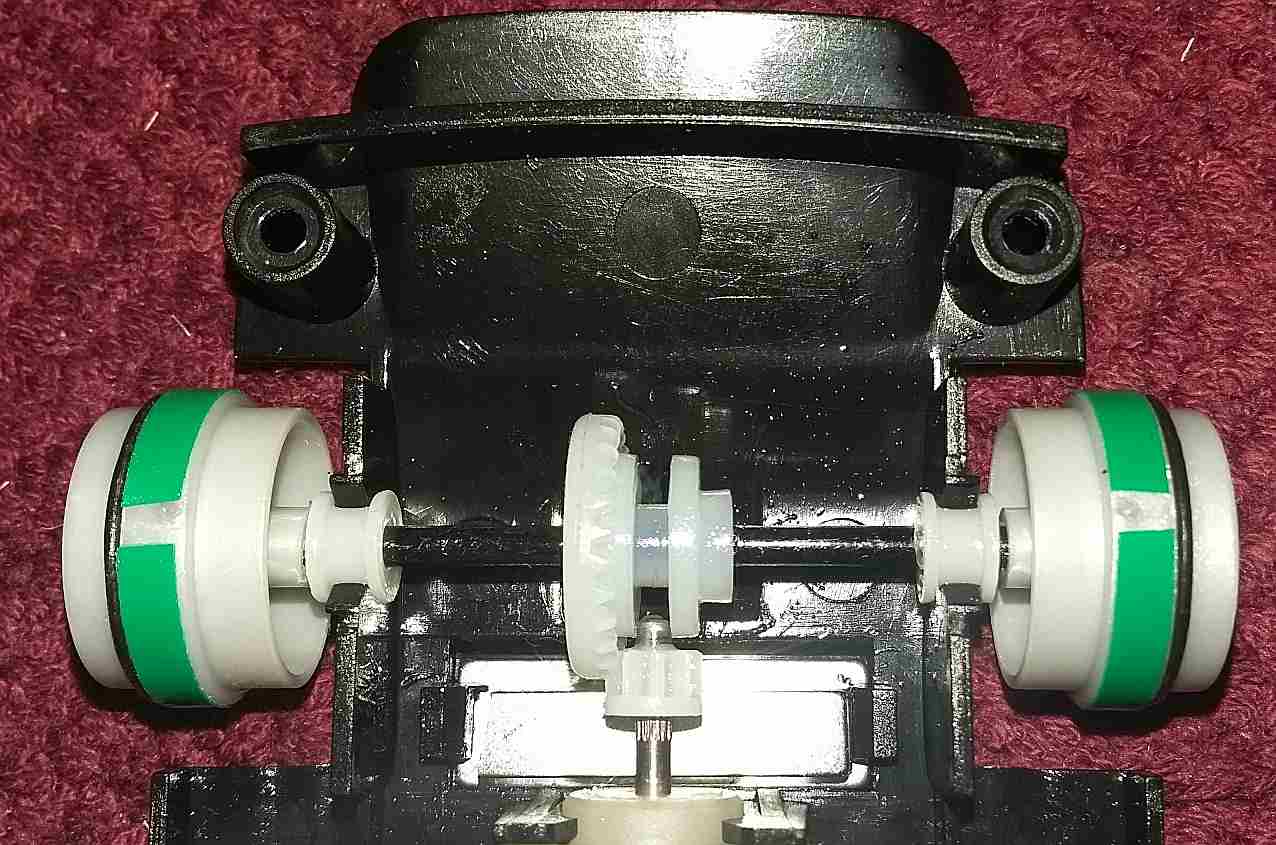
| This is for example only, just to show where the thin spacers go. Never pop the axle out more than once or twice or you will eventually be obliged to glue the bushes in - you are warned. If the axle still spins freely and the "Grrrrrk" is gone through the long turns, you are now ready to race :-) Regular maintenance is a must. A day or two before each race night (or minium couple of hours), repeat the lighter fluid dribble through the top of tmotor, clean the mess and manually rotate the wheels for a minute or two only. Then oil sparingly and wait to race. Running the motor "wet" is an anathema, it will bring a short term gain for the first few laps but kill the motor in the not so long run. Also avoid thrash practicing with your new race car for long periods on race evening, just a half dozen laps maximum to settle. The advance motor preparation will give you consistent good performance throughout the evening. |